Choosing the right tile adhesive is critical to ensuring strong bonding, long-term durability, and a professional finish. Whether you’re working with ceramic or porcelain tiles, understanding adhesive grades, tile types, and proper application methods can help you achieve better results while saving time and costs. This article provides an in-depth guide on how to select the best tile adhesive, covering key features, application areas, and expert selection tips.
Traditional Tiling vs. Thin Set Method
Traditionally, tiles were installed using a thick bed of cement and sand. However, this method has significant drawbacks:
-
High shrinkage after drying
-
Poor water retention
-
Difficult to work with
-
Significant tile slippage
-
Prone to hollowing and detachment
-
Low efficiency and high material consumption
With the development of polymer-modified tile adhesives—thanks to additives like cellulose ether and re-dispersible polymer powders (RDP)—the thin set method has become the preferred modern tiling technique. This approach uses a much thinner layer of adhesive and is more efficient, but it requires a flat substrate.
How to Choose the Right Tile Adhesive
The type of adhesive you choose depends on several key factors:
1. Tile Material
-
Ceramic tiles: Typically compatible with C1 grade adhesive.
-
Porcelain tiles: Denser and less porous, requiring C2 grade for better adhesion strength.
2. Tile Size
-
Large-format tiles (e.g., 600×1200 mm or larger) need C2TES1 grade adhesive, offering:
-
Higher bonding strength (C2)
-
Slip resistance (T)
-
Extended open time (E)
-
Enhanced flexibility (S1)
-
3. Substrate Type
-
Concrete, cement board, gypsum walls, or underfloor heating systems may require specific adhesive formulations with additional flexibility or thermal resistance.
4. Location & Environment
-
Wet areas (bathrooms, kitchens) require water-resistant adhesives.
-
Outdoor installations demand weather-resistant, freeze-thaw stable adhesives.
Understanding Adhesive Grades (Based on EN 12004)
| Grade | Meaning | Suitable For |
|---|---|---|
| C1 | Standard cement-based adhesive | Ceramic tiles, basic walls/floors |
| C2 | Improved bonding strength | Porcelain, glass tiles |
| T | Slip resistance | Wall tiles |
| E | Extended open time | Large areas or hot climates |
| S1/S2 | Flexibility | Large tiles, wood substrates |
Reference Table for tile adhesive selection:
For different tiles and different substrates, you need to choose different tile adhesives.
| Substrates | Mosaic | Porcelain | Ceramic | |||
| Exterior wall | Concrete | C2T | C2T | C1T | ||
| Insulation | C2TS1 | C2TS1 | C2TS1 | |||
| Substrates | Mosaic | Porcelain
Side length≤600mm |
Porcelain
Side length>600mm |
Ceramic
Side length≤600mm |
Ceramic
Side length>600mm |
|
| Interior wall | Concrete | C1T | C2T | C2TS1 | C1T | C1T |
| Light-weight slabs | C1T | C2TS1 | — | C2TS1 | — | |
| Cement slabs | C1T | C2TS1 | — | C2TS1 | — | |
| Particle board | C2TS1P1 | C2TS1P1 | — | C2TS1P1 | — | |
| Metal | R1 | R1 | — | R1 | — | |
| Substrates | Mosaic | Porcelain
Side length≤600mm |
Porcelain
Side length>600mm |
Ceramic
Side length≤600mm |
Ceramic
Side length>600mm |
|
| Floor | Mortar | C2 | C2 | C2 | C1 | C1 |
| Self-leveling | C2 | C2 | C2 | C1 | C1 | |
| Metal | R1 | R1 | — | R1 | — | |
| Insulation | C2S1 | C2S1 | — | C2S1 | — | |
| For requirement on quick setting time: “F” grade
For walls affected by long-term vibration: “C2TS1” grade For parts with strong wind and susceptible to direct sunlight: “E” grade For environment prone to acid and alkali corrosion: “R1 or R2” grade |
||||||
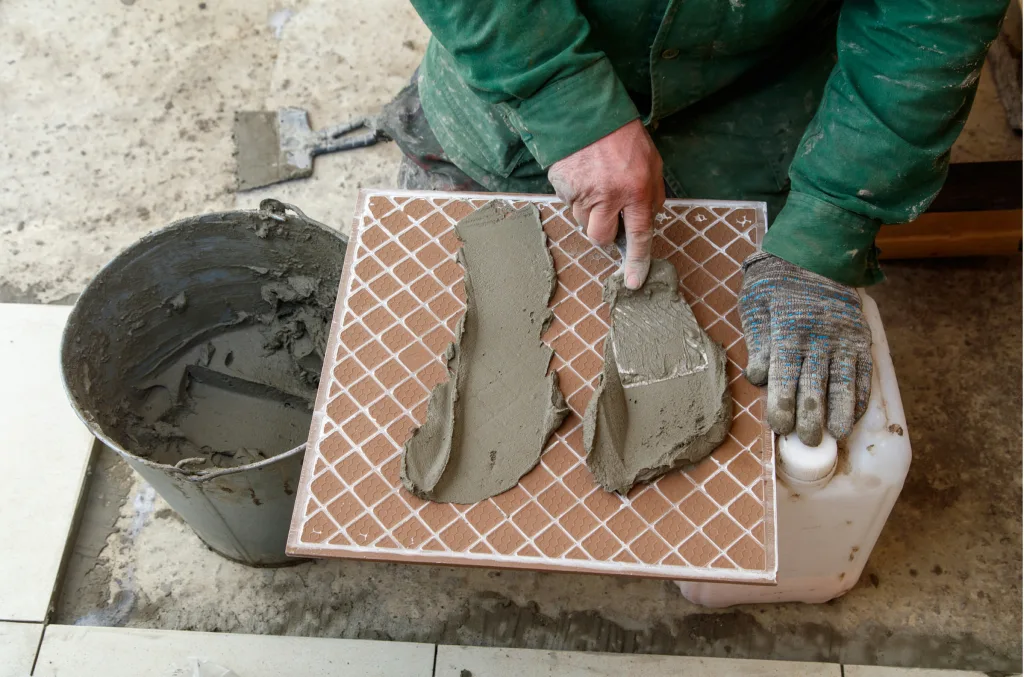
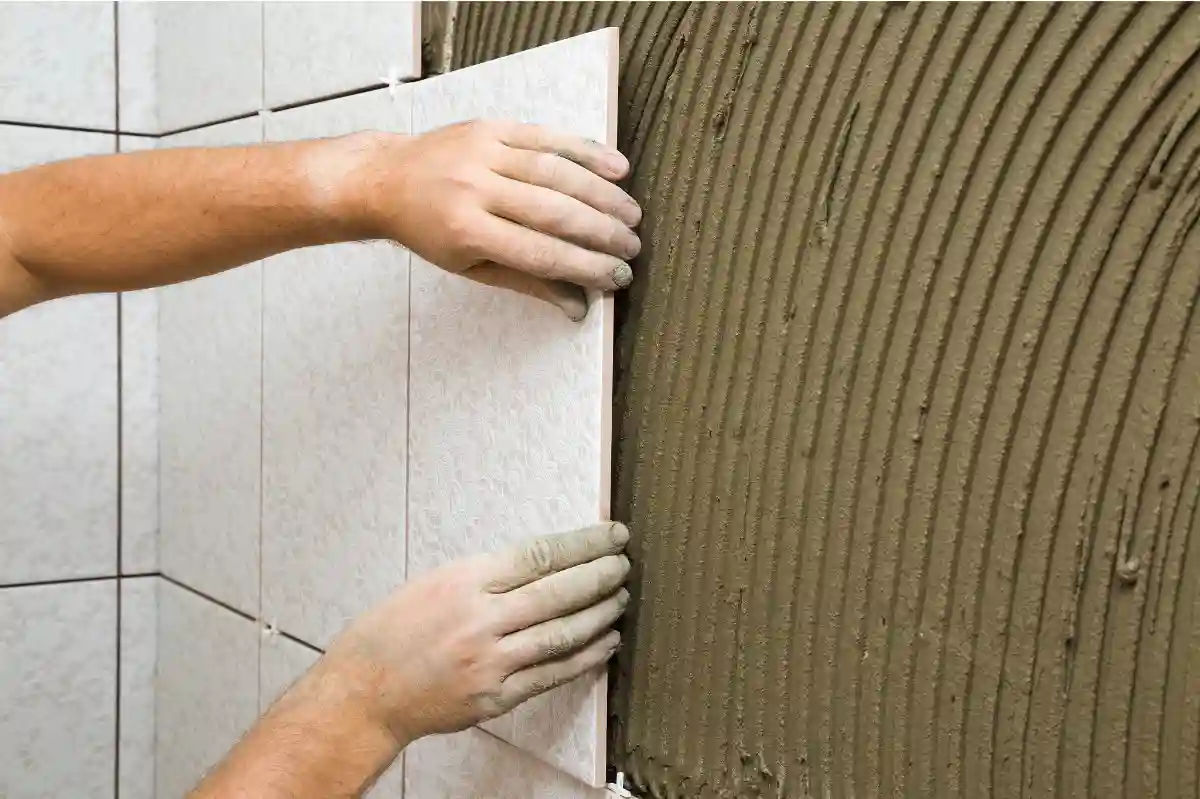
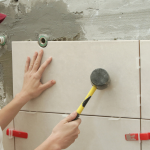
Tile Adhesive Application – Thin Set Process
Follow these key steps to ensure successful tiling:
-
Pre-wet the substrate (if recommended by the manufacturer).
-
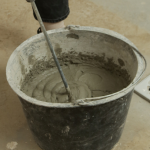
Mix adhesive with water using an electric mixer for at least 3 minutes until smooth.
-
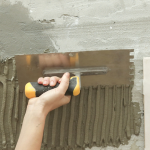
Apply adhesive using a notched trowel at a 45°–60° angle.
-
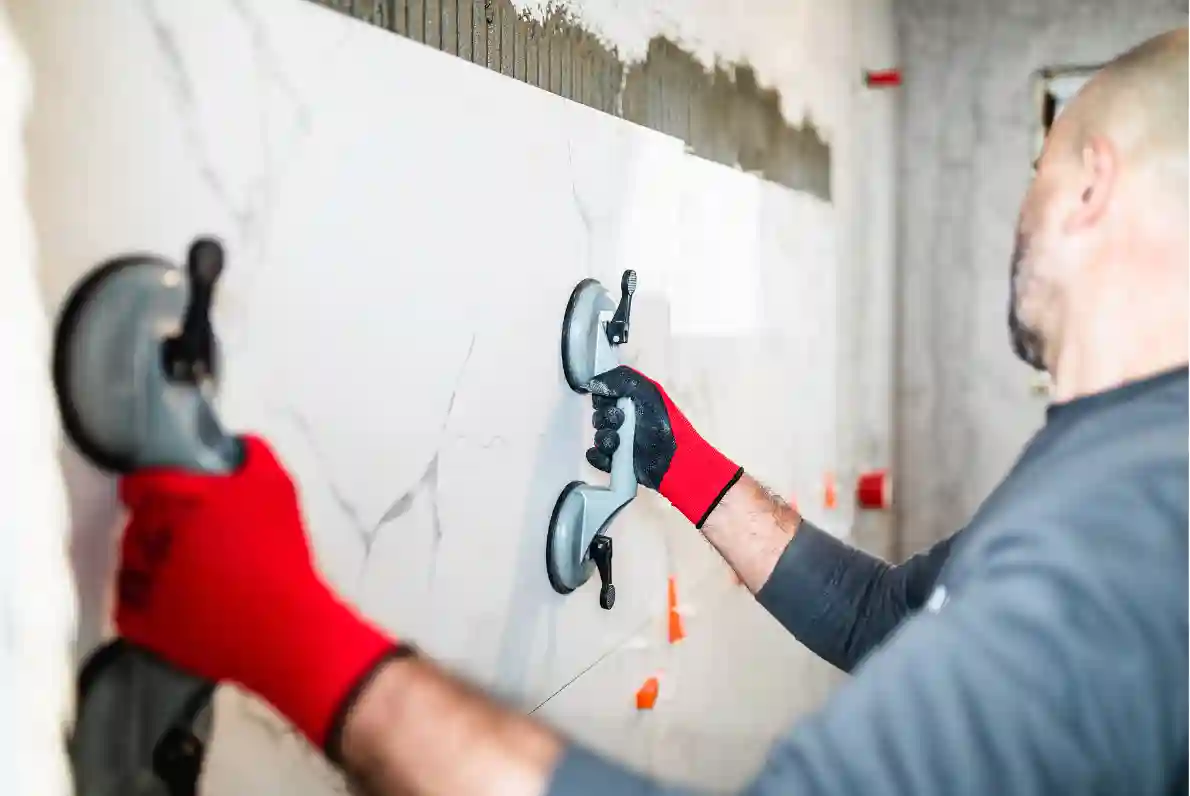
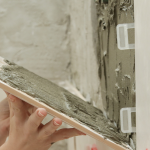
Set the tile firmly onto the adhesive bed.
-
Adjust alignment and flatness quickly.
-
Allow proper curing time, avoiding traffic for at least 24 hours.
Recommend formulation for CTA:
| Raw material | Grade | Dosage(kg/t) | Function |
| Cement | P.O 42.5 | 300 – 400 | Provide strength |
| Sand | 40 – 140 mesh | 600 – 700 | Aggregate |
| HPMC | Celopro® ME50M / MT4016 / ME70M | 2.0 – 4.0 | Water retention |
| RDP | Vinabond® N511 / N515 / N516 | 8.0 – 50.0 | Anti-crack
Improve adhesion strength Improve flexibility |
| Cellulose Fiber | Celofiber® CF300W / CF500W | 2.0 – 3.0 | Improve water retention |
| Hydroxypropyl Starch | Stargel® ST600 | 0.2 – 1.0 | Improve workability
Improve anti-slip |
| Calcium Formate | Quickset® S98 | 2.0 – 8.0 | Improve early strength
Improve adhesion strength |
Frequently Asked Questions (FAQ)
Q1: Why are there so many types of tile adhesive?
Different adhesives are designed to meet the needs of various tile types, substrates, and environments. For example, wall tiles may need anti-slip (T) properties, while outdoor tiles require weather resistance.
Q2: What’s the difference between C1 and C2 adhesive?
-
C1: Basic adhesion strength; suitable for standard ceramic tiles.
-
C2: Improved bonding strength; ideal for porcelain, glass, and large tiles.
Q3: Why is C2TES1 required for large tiles?
Large-format tiles are heavier, may deform more, and take longer to position. C2TES1 adhesives offer:
-
Stronger bonding (C2)
-
Non-slip properties (T)
-
Longer open time (E)
-
Flexibility to prevent cracking (S1)
Q4: Can I use the same adhesive for floor and wall tiles?
Not always. Wall tiles often need slip-resistant adhesives (T), while floors may need stronger bonding depending on load and usage.